How to Compact Sand for a Paver Base
A properly compacted sand layer is an important part of a successful paver installation. Whether you are building a patio, walkway, driveway, or outdoor living area, the sand beneath the pavers helps create a level surface and supports the final installation.
However, many homeowners make a common mistake: they assume that simply spreading sand and placing pavers on top is enough. In reality, proper sand compaction for a paver base requires the right material, correct preparation, controlled moisture, and appropriate equipment.
A poorly compacted sand base can lead to shifting pavers, uneven surfaces, sinking areas, and costly repairs. Learning how to compact sand correctly helps create a stable foundation that can last for many years.
Why Is Sand Compaction Important Under Pavers?
Sand serves an important but specific role in a paver system. It creates a smooth bedding layer that allows pavers to sit evenly and distributes pressure across the surface.
When sand is properly compacted, the particles settle closer together, reducing air gaps and creating a more stable layer.
Without adequate compaction, the sand remains loose and can move when exposed to foot traffic, vehicle loads, rainfall, or temperature changes. This movement can cause individual pavers to sink, tilt, or separate.
It is important to understand that the sand layer is not the primary structural foundation of the project. The strength of a paver installation comes from the entire system, including the compacted base material underneath, the bedding sand, and the pavers themselves.
Choose the Right Sand Before Compacting
The first step in achieving good compaction is selecting the correct sand.
Not all sand types perform the same way under pavers. The ideal bedding material should have consistent particle size, good drainage characteristics, and enough texture to create stability.
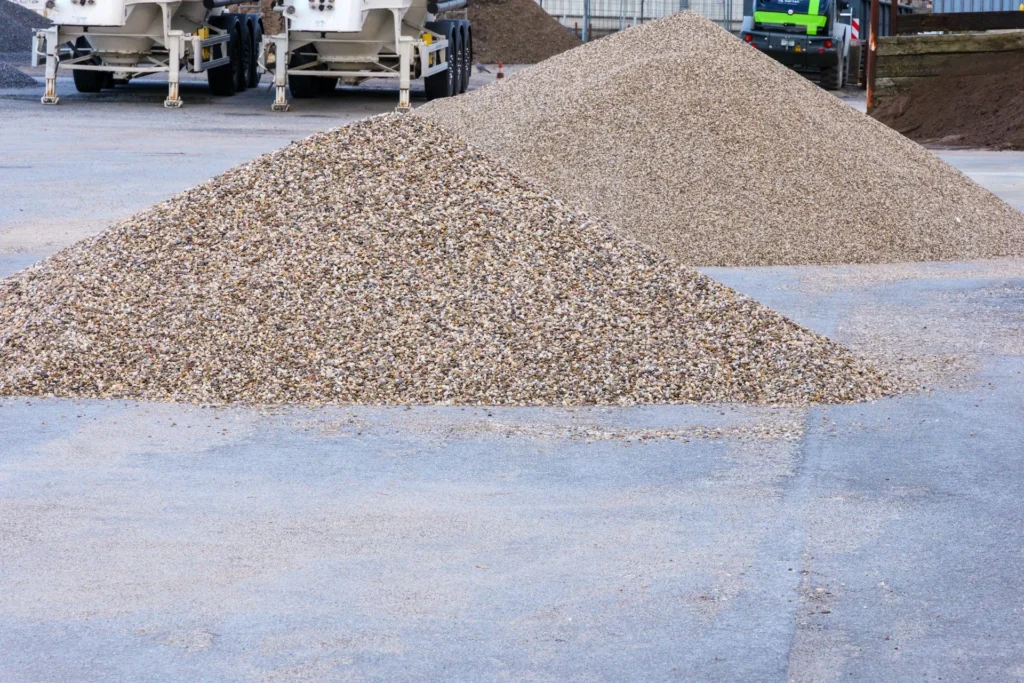
Materials such as utility and bedding sand are commonly used for construction applications where a stable leveling layer is needed.
Very fine sand may shift more easily, while sand containing large particles or debris can prevent pavers from sitting properly.
For the best results, always choose clean, properly screened sand designed for construction use.
Prepare the Base Before Adding Sand
Before compacting sand, the area underneath must be properly prepared.
A common misconception is that the sand itself creates the strength of the patio or walkway. In reality, the compacted base below the sand provides most of the structural support.
The typical paver installation structure includes:
Pavers → Bedding Sand → Compacted Aggregate Base → Prepared Soil
The soil should first be excavated, graded, and compacted. For many projects, a strong aggregate base such as road base flex base is installed beneath the sand layer to provide additional stability.
If the foundation underneath is weak, even perfectly compacted sand will not prevent future movement.
Spread the Sand Evenly
Once the base is prepared, the sand should be spread evenly across the installation area.
For most paver applications, the bedding sand layer is approximately 1 inch thick after leveling and compaction.
Avoid creating deep areas of sand to compensate for an uneven base. Thick sections of loose sand are more likely to settle over time.
Use screeding tools to create a consistent surface before placing the pavers. A uniform sand layer allows the pavers to sit evenly and reduces adjustment problems during installation.
Add the Correct Amount of Moisture
Moisture plays an important role in sand compaction.
Completely dry sand tends to remain loose because the particles do not bind together effectively. Slightly damp sand usually compacts better because moisture helps reduce friction between particles and allows them to settle.
However, too much water can create problems by making the sand unstable and difficult to compact.
The goal is a lightly damp material—not wet or muddy.
Experienced contractors understand that moisture control is one of the key factors separating a stable paver installation from one that fails prematurely.
Use the Right Compaction Equipment
The equipment used depends on the stage of installation.
A plate compactor is commonly used for compacting aggregate bases and, in some situations, for compacting bedding materials during installation.
For delicate pavers, installers often use protective pads or specialized methods to prevent surface damage.
Hand tampers may work for very small areas, but they usually cannot achieve the same level of density as mechanical equipment.
Proper equipment ensures that pressure is distributed evenly across the surface.
Should You Compact Sand Before or After Installing Pavers?
This depends on the type of sand and installation method.
For a traditional paver installation, the bedding sand is usually screeded and leveled rather than heavily compacted before placing the pavers. The pavers are then installed, adjusted, and compacted afterward so they settle firmly into the bedding layer.
After the pavers are installed, joint sand is added between the pavers, and the surface is compacted to lock everything together.
Over-compacting loose bedding sand before installation can sometimes create an uneven surface if the sand is not properly leveled.
How to Compact Sand Between Pavers
After the pavers are placed, the joints must be filled with sand to help lock the system together.
Joint sand is swept across the surface until it fills the gaps between the pavers.
Many homeowners use polymeric sand for this purpose because it hardens after activation and helps reduce weed growth and erosion.
The surface is then compacted using appropriate equipment to help the sand settle deeper into the joints.
This process improves the overall stability of the paved area.
Common Mistakes When Compacting Sand for Pavers
Several installation mistakes can reduce the lifespan of a paver project.
Using the wrong type of sand is one of the most common problems. Fine or inconsistent materials may not provide enough stability.
Another mistake is skipping base preparation and relying only on sand for support. Sand cannot compensate for weak or unstable soil.
Installing a sand layer that is too thick is also a problem because deeper loose layers are more likely to shift.
Finally, failing to manage drainage can allow water to wash away material or create settlement issues.
How Long Does a Compacted Sand Paver Base Last?
A properly installed paver system can last for decades when built correctly.
The lifespan depends on several factors, including material quality, soil conditions, drainage, climate, and maintenance.
Proper compaction helps prevent early failures by creating a stable foundation that resists movement.
Regular maintenance, such as replacing joint sand when necessary and correcting drainage issues, can further extend the life of the installation.
Final Thoughts
Learning how to compact sand for a paver base is essential for creating a stable and durable outdoor surface.
The process begins with choosing the right sand, preparing a strong foundation, maintaining proper moisture, and using appropriate installation techniques. While the sand layer helps create a smooth and level surface, the overall success of the project depends on the complete base system underneath.
By using quality materials such as bedding sand and properly compacted aggregate from a trusted supplier like Select Sand & Gravel, homeowners and contractors can build patios, walkways, and paver surfaces that remain attractive and functional for many years.

